If you're diving into integrating with the Anaplan REST API using an Anaplan Certificate, you'll need to know certain requirements. This post is a step-by-step guide to ensure a seamless connection using Python. If you'd prefer to avoid a programmatic approach to using your certificate, then please check out the CA Certificate Auth Generator (yet to be updated with new v2 format).
📢What's New: Enhanced Security with v2 Format
Recent Update: Certificate-Based Authentication for Anaplan APIs has been enhanced with a new v2 format for enhanced security. This guide covers both the original v1 format and the new v2 format.
Choose Your Format:
- v2 format (Recommended): Includes timestamp data for enhanced security
- v1 format: Uses purely random data, supported for backward compatibility
Important: With v2 format, each authentication request must generate a fresh payload due to the timestamp component. You cannot reuse payloads between API calls.
Migration Timeline and Format Support
Current Status: Both v1 and v2 formats are supported.
Future Direction: Anaplan plans to phase out v1 format support over time as part of ongoing security enhancements. While there is no immediate deprecation timeline, we recommend:
- New implementations: Start with v2 format to ensure long-term compatibility
- Existing v1 users: Begin planning migration to v2 format to avoid future disruption
- Production systems: Consider updating to v2 during your next maintenance cycle
Core Requirements (Both Formats)
Regardless of which format you choose, these fundamental requirements remain the same:
• Make a POST Call
Initiate a POST call to https://auth.anaplan.com/token/authenticate
• Add the Certificate string to the Authorization header
The Authorization header value should include your Anaplan public key:
Authorization: CACertificate MIIFeDCCBGCgAwIBAgIQCcnAr/+Z3f...
• Pass a Random String
Include a 100-byte message within the body of your REST API call. This data must be signed using your certificate's private key to create the authentication payload.
[V1 Format]
Random Data: a 100-byte string of purely random characters.
Example: xO#hXOHcj2tj2!s#&HLzK*NrOJOfbQaz)MvLQnz4Ift*0SuWK&r#1Ud^L@7wAb @7EST @!cHyR%n&0)72C#J!by@RMqY2bFc7uGQP
JSON Structure:
{
  "encodedData": "ACTUAL_ENCODED_DATA_VALUE",
  "encodedSignedData": "ACTUAL_SIGNED_ENCODED_DATA_VALUE"
}
[V2 Format] (Recommended)
Timestamp + Random Data: Combines an 8-byte timestamp with 92 bytes of random data (total: 100 bytes).
Structure:
- First 8 bytes: Current epoch timestamp (binary format)
- Remaining 92 bytes: Random data
- Total: 100 bytes exactly
JSON Structure:
{
  "encodedDataFormat": "v2",
  "encodedData": "ACTUAL_ENCODED_DATA_VALUE",
  "encodedSignedData": "ACTUAL_SIGNED_ENCODED_DATA_VALUE"
}
Security Benefit: The timestamp makes each request unique and helps prevent replay attacks where someone might try to reuse an old authentication payload.
• Certificate Format Requirements
Both the Public Certificate and the Private Key must be in PEM format. PEM (Privacy Enhanced Mail) is recognizable by its delimiters:
- Public certificates:
-----BEGIN CERTIFICATE----- and -----END CERTIFICATE----- - Private keys:
-----BEGIN PRIVATE KEY----- and -----END PRIVATE KEY-----
How the Signing Process Works
Both formats follow the same cryptographic process:
- Generate the 100-byte message (format depends on v1 vs v2)
- Base64 encode the message → This becomes your encodedData
- Sign the message with your private key using RSA-SHA512
- Base64 encode the signature → This becomes your encodedSignedData
- Create the JSON payload with the appropriate format structure
Python Implementation
Here's an enhanced Python script that handles both v1 and v2 formats with user-friendly prompts:
"""
gen_signed_data.py

This script generates a JSON payload containing a base64-encoded random message and its RSA signature,
intended for use with Anaplan token authentication API (e.g., for CBA authentication flows).
It supports two payload formats (v1 and v2), where v2 prefixes the message with the current epoch seconds.
The script reads the RSA private key (optionally encrypted) from a file, securely prompts for the passphrase,
and can use environment variables to automate input. The resulting JSON is printed to stdout for use in API requests.

Environment Variables:
- PRIVATE_KEY_FILE: Path to the RSA private key file.
- PAYLOAD_VERSION: Payload version ('v1' or 'v2').

Usage:
    python3 gen_signed_data.py
    # or set environment variables to skip prompts:
    PRIVATE_KEY_FILE=/path/to/key PAYLOAD_VERSION=v2 python gen_signed_data.py
"""

from base64 import b64encode
from Crypto.PublicKey import RSA
from Crypto.Random import get_random_bytes
from Crypto.Signature import pkcs1_15
from Crypto.Hash import SHA512
import json
import time
import os
import getpass

# Generate the encodedData parameter
def create_encoded_data_string(message_bytes):
    # Step #1 - Convert the binary message into Base64 encoding:
    # When transmitting binary data, especially in text-based protocols like JSON,
    # it's common to encode the data into a format that's safe for transmission.
    # Base64 is a popular encoding scheme that transforms binary data into an ASCII string,
    # making it safe to embed in JSON, XML, or other text-based formats.
    message_bytes_b64e = b64encode(message_bytes)

    # Step #2 - Convert the Base64-encoded binary data to an ASCII string:
    # After Base64 encoding, the result is still in a binary format.
    # By decoding it to ASCII, we get a string representation of the Base64 data,
    # which is easily readable and can be transmitted or stored as regular text.
    message_str_b64e = message_bytes_b64e.decode('ascii')

    return message_str_b64e

# Generate the encodedSignedData parameter
def create_signed_encoded_data_string(message_bytes, key_file, passphrase):
    # Step #1 - Open the private key file for reading:
    # Private keys are sensitive pieces of data that should be stored securely.
    # Here, we're reading the private key file from the disk using Python's file I/O functions.
    key_file_content = open(key_file, 'r', encoding='utf-8').read()

    # Step #2 - Import the RSA private key:
    # The RSA private key is imported from the previously read file content.
    # If the key is encrypted, a passphrase will be required to decrypt and access the key.
    my_key = RSA.import_key(key_file_content, passphrase=passphrase)

    # Step #3 - Prepare the RSA key for signing operations:
    # Before we can use the RSA key to sign data, we need to prepare it using
    # the PKCS#1 v1.5 standard, a common standard for RSA encryption and signatures.
    signer = pkcs1_15.new(my_key)

    # Step #4 - Create a SHA-512 hash of the message bytes:
    # It's common practice to create a cryptographic hash of the data you want to sign
    # instead of signing the data directly. This ensures the integrity of the data.
    # Here, we're using the SHA-512 algorithm, which produces a fixed-size 512-bit (64-byte) hash.
    message_hash = SHA512.new(message_bytes)

    # Step #5 - Sign the hashed message:
    # Once the data is hashed, the hash is then signed using the private key.
    # This produces a signature that can be verified by others using the associated public key.
    message_hash_signed = signer.sign(message_hash)

    # Step #6 - Encode the binary signature to Base64 and decode it to an ASCII string:
    # Similar to our earlier function, after signing, the signature is in a binary format.
    # We convert this to Base64 for safe transmission or storage, and then decode it to a string.
    message_str_signed_b64e = b64encode(message_hash_signed).decode('utf-8')

    return message_str_signed_b64e

def create_json_body(encoded_data_value, signed_encoded_data_value, encoded_data_format="v2"):
    # Make encodedDataFormat the first attribute of the data
    data = {}
    if encoded_data_format == "v2":
        data["encodedDataFormat"] = "v2"
    data.update({
        "encodedData": encoded_data_value,
        "encodedSignedData": signed_encoded_data_value
    })
    return json.dumps(data, indent=4)

# Get user input for private key file and encodedDataFormat
# If environment variables are defined, use them; otherwise, prompt the user
# Usage: Define the following environment variables to skip user input:
# - PRIVATE_KEY_FILE: Path to the private key file (e.g., '/path/to/private.key')
# - PAYLOAD_VERSION: Payload version (e.g., 'v1' or 'v2')

# Print usage instructions if environment variables are not defined
if not os.getenv('PRIVATE_KEY_FILE') or not os.getenv('PAYLOAD_VERSION'):
    print("Usage Instructions:")
    print("Define the following environment variables to skip the user input:")
    print("  - PRIVATE_KEY_FILE: Path to the private key file (e.g., '/path/to/private.key')")
    print("  - PAYLOAD_VERSION: Payload version (e.g., 'v1' or 'v2')")

private_key_file = os.getenv('PRIVATE_KEY_FILE') or input(
    "Enter the path to the private key file (default: '/path/to/private/key'): "
) or '/path/to/private/key'

encoded_data_format = os.getenv('PAYLOAD_VERSION') or input(
    "Enter the encodedDataFormat (default: 'v2', options: 'v1', 'v2'): "
) or "v2"

# Provide the private key passphrase. If there is no passphrase, please insert None
private_key_file_passphrase = getpass.getpass(
    "Enter the private key passphrase (leave blank for None): "
) or None

# Create random 100-byte message
if encoded_data_format == "v2":
    # Prefix epoch_seconds to message_bytes
    epoch_seconds = int(time.time())  # Generates the current time in seconds since the Unix epoch (January 1, 1970, 00:00:00 UTC). The value is always in UTC, regardless of the system's local timezone.
    message_bytes = epoch_seconds.to_bytes(8, 'big') + get_random_bytes(100 - 8)
else:
    # Generate random bytes without prefix
    message_bytes = get_random_bytes(100)

# Create the encoded data string
message_str_b64e = create_encoded_data_string(message_bytes=message_bytes)

# Create an encoded signed data string
message_str_signed_b64e = create_signed_encoded_data_string(
   message_bytes=message_bytes, key_file=private_key_file, passphrase=private_key_file_passphrase)

# Get the formatted body for the Anaplan API token authentication endpoint (https://auth.anaplan.com/token/authenticate) to generate an access_token
cba_payload = create_json_body(
   encoded_data_value=message_str_b64e, signed_encoded_data_value=message_str_signed_b64e, encoded_data_format=encoded_data_format)

# Print the formatted body to stdout
print("Generated JSON body for API token authentication:")
print(cba_payload)
This script requires the PyCryptodome library:
pip install pycryptodome
Which Format Should You Use?
For new implementations: Use v2 format (the default) for enhanced security.
For existing systems: v1 format remains supported, but consider migrating to v2 when possible.
For automation: Remember that v2 requires generating a fresh payload for each authentication request due to the timestamp component.
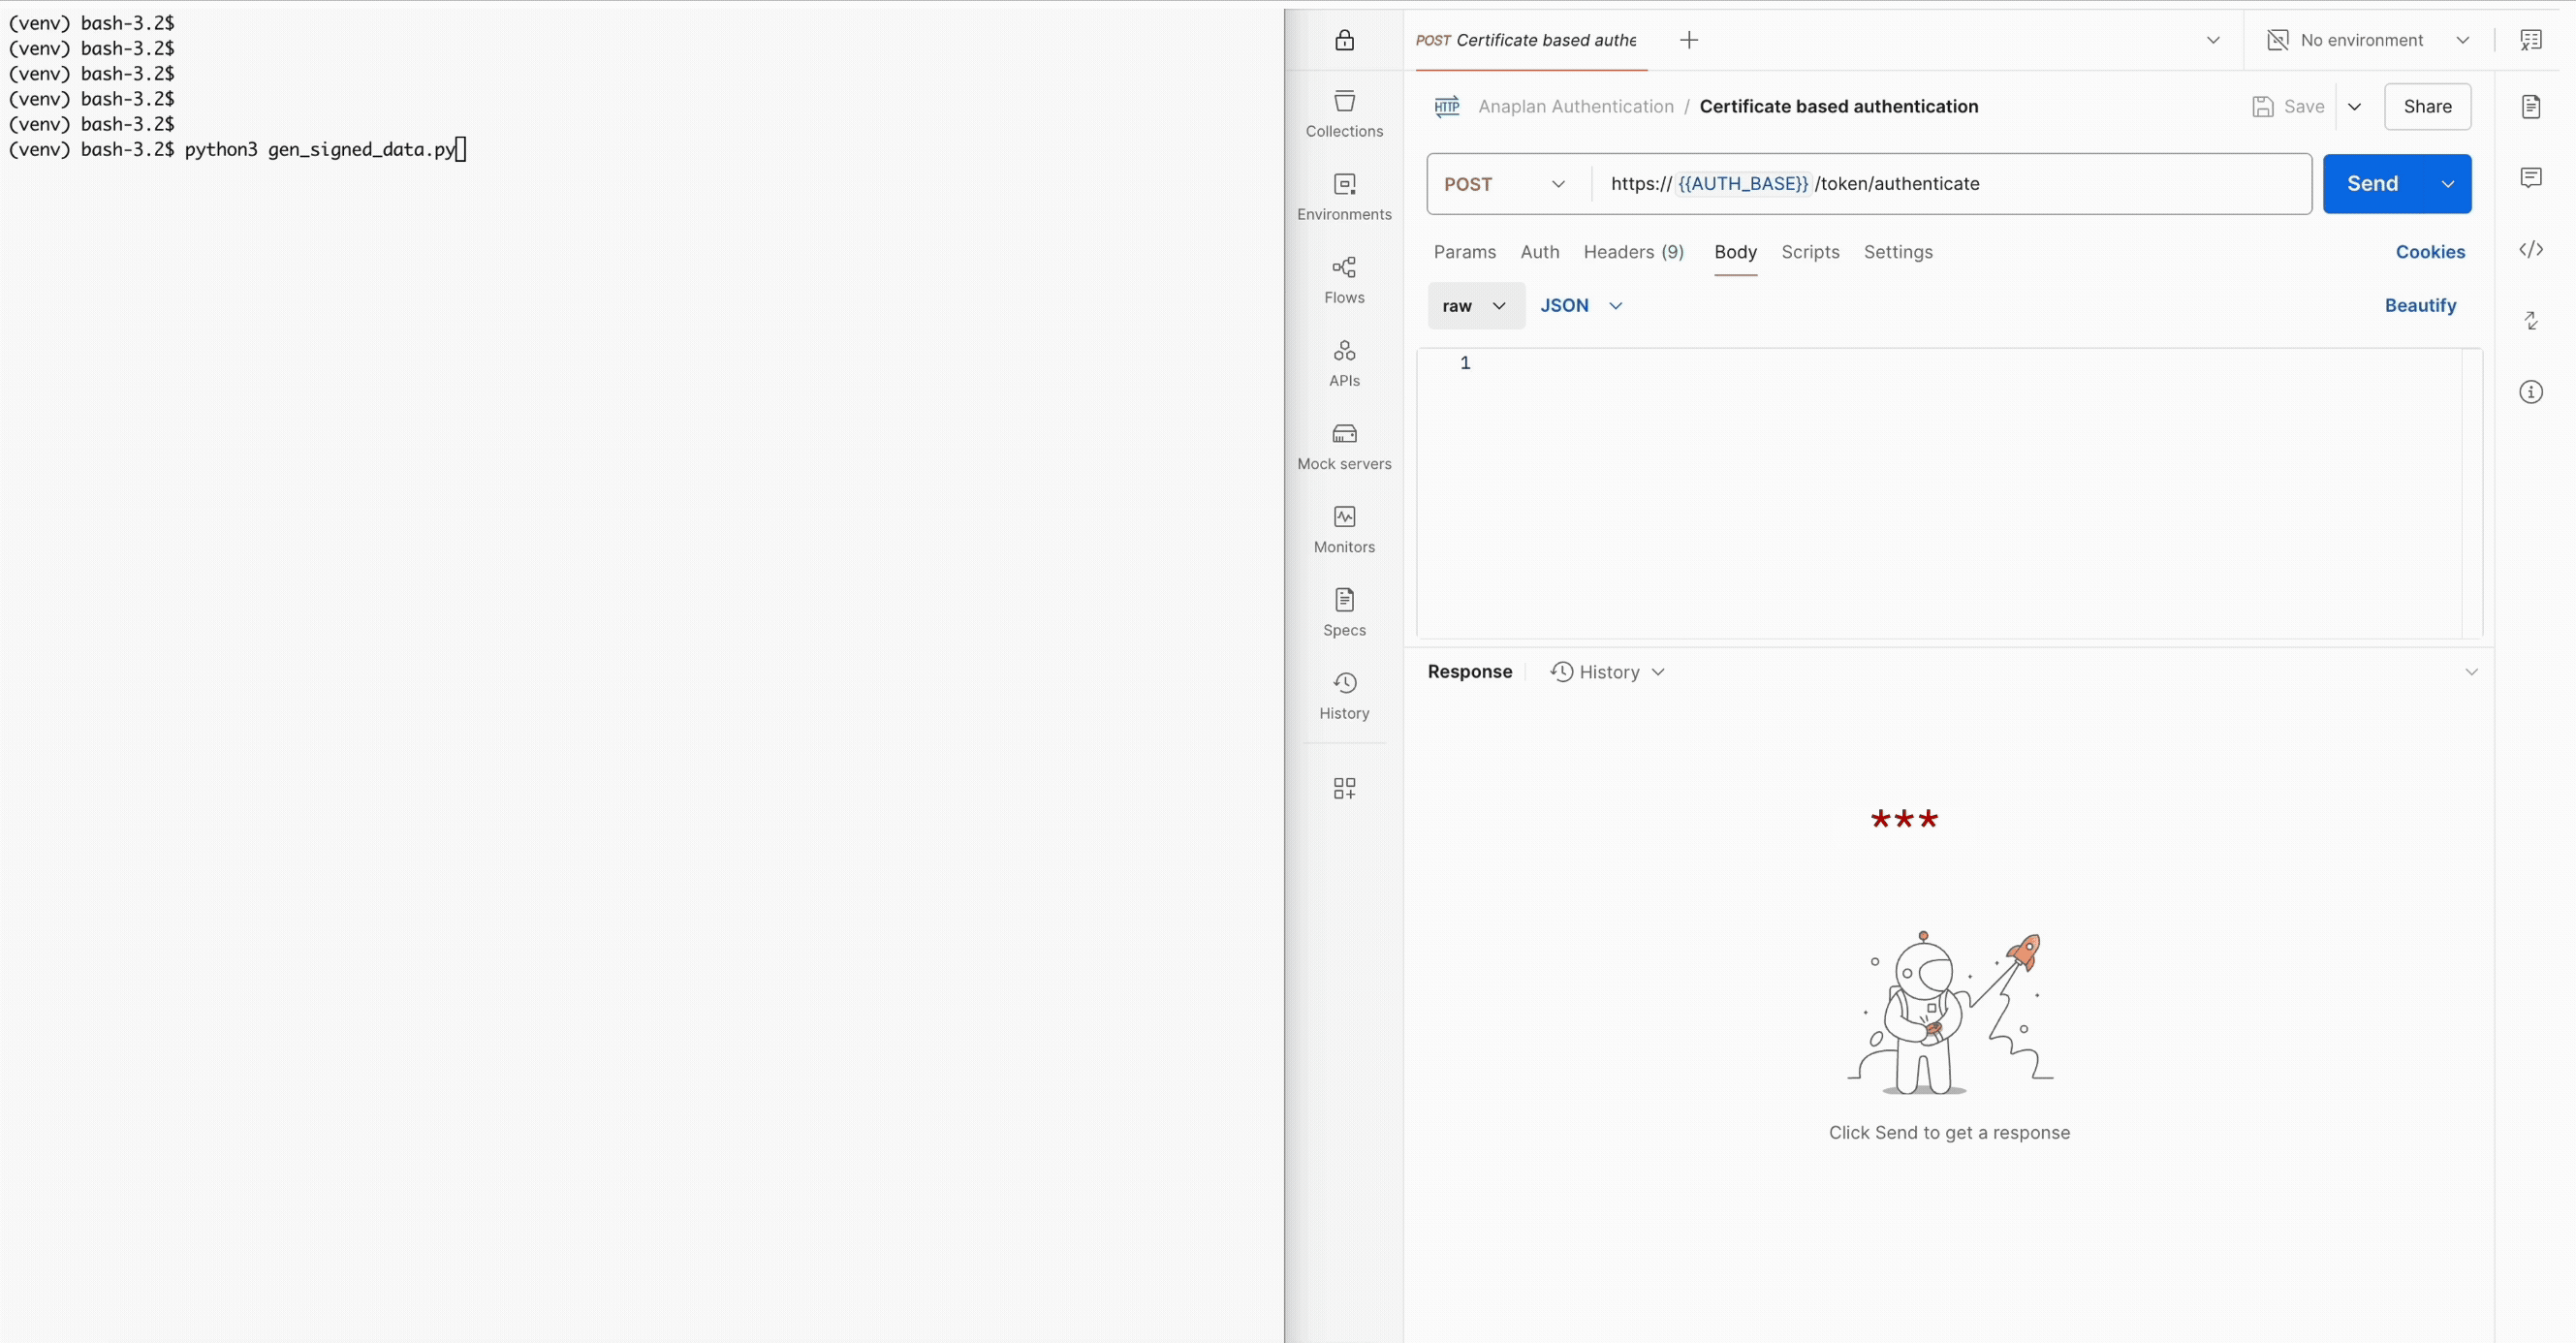
Quick Demo
Here's how easy it is to use with Postman or any REST client:
- Run the script and copy the generated JSON payload
- Create a POST request to https://auth.anaplan.com/token/authenticate (check the URL, IP, and allowlist requirements | Anaplan Support page to ensure you have the correct Auth API URL corresponding to your environment)
- Add your certificate to the authorization header
- Paste the JSON as the request body and hit send
- Receive your access token for subsequent API calls
Authors: Adam Trainer, @AdamT - Operational Excellence Group (OEG)