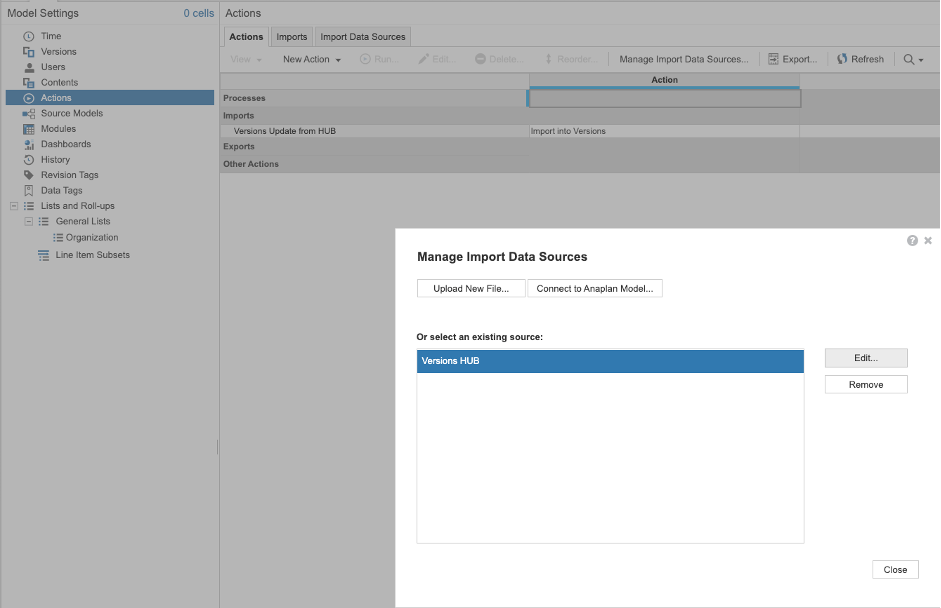
After the November 14th platform update, Switchover, Edit From, Edit To, and Notes will no longer be updated via an ALM sync. Spoke models will need to be updated individually via an import or the Anaplan UI.
The most optimal way to manage version settings going forward is by setting up module imports from a hub model.
Module imports are preferred over file imports for managing version settings. With file imports you have to be very careful to set up the date format; the format in the file needs to match exactly with the format displayed in the version settings, otherwise, the import will not update the target value. For example, when you export the Versions grid to a file (using CSV or TXT format), the switchover date will be exported as "MMM YY," but if Excel format is used, the format will be “MMM-YY." Similarly, if the CSV or TXT file is opened in Excel and then re-saved, the date format will convert to “MMM-YY”. Switchover date will not update if you re-import the file with this format. The date in the file needs to be in "MMM YY" format without the "-". For this purpose, we recommend that you use a module as a source for the import – see below for examples.
Remember that imports have to be set up in advance, as you cannot set up imports while in Deployed mode.
Examples:
A: Assume the same switchover date is needed for all spoke models.
- In the Data Hub model:
- Create a module with line items to hold Switchover Date, Edit from/to (if required), formatted as months (see Planual rule 2.01-09 Use Lookup or Constants Module).
- Create a saved view to be used as the source of the import (see Planual rule 5.04-09).
- In the Development model:
- Create an import using the Data hub module saved view (from 1b) as the source.
- Create a revision tag.
- In the target model:
- Sync from the revision tag (from 2b).
- Run the import created in 2a.
- Repeat 3 for each target model if applicable.
- Your set up is now ready to update production version settings in Deployed mode!
B: Assume you need different switchover dates for different target models.
- In the Data Hub:
- Follow steps 1a and 1b from example A above.
- Create additional line items and saved views for each different value as applicable.
- In the Development model:
- Create the import as in 2a from example A above.
- Set the import data source as production data (see Production Imports).

-
Set the import as production data.
-
Create a revision tag.
- In the target model:
- Sync from the revision tag (from 2d).
- Amend the Import Data Source as applicable.

- Amend the Import mapping as applicable - you will need to re-map the relevant line item(s).

- Run the import created in 2a.
-
Repeat step 3 for each target model.
The steps can also be represented in the following diagram:
_91017.png?large?v=v2&px=999)
Contributing author Dafinka Pancheva.